How to Fix or Change the Wrong GPS Location on a Photo
GPS metadata is only useful when it is right. A photo tagged with wrong coordinates is arguably worse than one with no coordinates at all: Google Photos files it under the wrong trip, mapping software plots it in the wrong place, and for professional uses — real estate listings, insurance claims, field documentation — an incorrect location can undermine the credibility of the entire record.
The good news: because coordinates live in the photo's EXIF metadata rather than in the image itself, a wrong location is completely fixable. This guide explains the common causes, how to verify what a photo currently says, and how to rewrite the coordinates correctly.
Why Photos End Up with the Wrong Location
Cameras don't invent coordinates — they record whatever position the device believed at the moment of capture. That belief can be wrong in several predictable ways:
- Stale GPS fix: GPS chips take seconds to minutes to acquire a fresh satellite lock. If you pull out your phone and shoot immediately, the camera may write the last known position — which could be wherever you last used maps or navigation, kilometers away.
- The airport photo problem: after a flight, the first photos you take often carry the coordinates of your departure city, because the phone's location has not updated yet. Whole vacation albums can start "in" the wrong country.
- Indoor and urban-canyon positioning: without satellite visibility, phones fall back to Wi-Fi and cell-tower databases. In dense cities or large buildings this can be off by hundreds of meters — enough to place a photo on the wrong block.
- Cameras with misconfigured GPS: standalone cameras with GPS add-ons or Bluetooth location tethering sometimes write coordinates from a stale pairing or a wrongly configured home location.
- Copied metadata: some editing and batch-processing tools copy EXIF wholesale from a template or a previous file, silently stamping every output with the same borrowed coordinates.
- Time zone confusion in geotagging software: track-log based geotagging (matching photo timestamps against a recorded GPS track) misplaces every photo when camera clock and track time zone disagree.
Step 1: Check What the Photo Actually Says
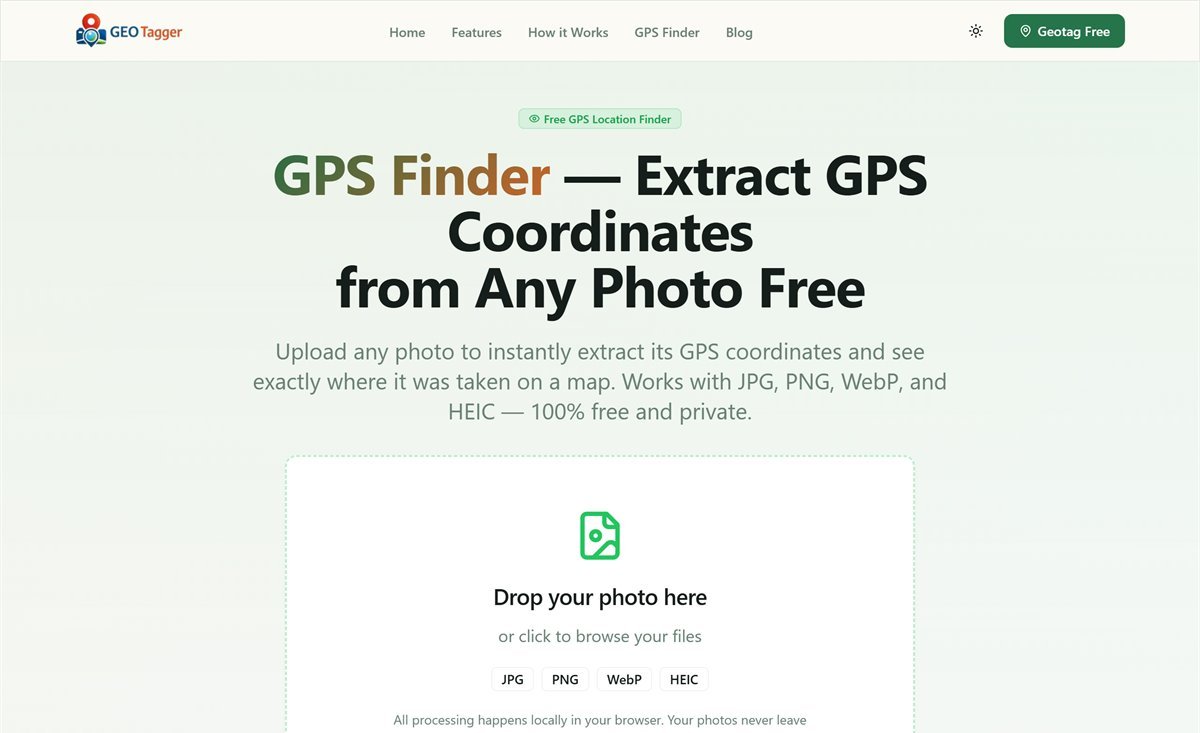
Before correcting anything, read the current coordinates. Upload the photo to our free GPS Finder — it extracts the EXIF GPS fields locally in your browser and plots them on a map, so you can see exactly where the file claims it was taken. Nothing is uploaded to any server; the check happens entirely on your device.
This step matters because gallery apps sometimes display an estimated location (derived from your location history) even when the file contains no GPS at all. Reading the EXIF directly tells you whether you need to fix wrong data or add missing data — the workflow is the same either way.
Step 2: Rewrite the Coordinates
With FreeGeoTagger, correcting a photo's location takes under a minute and works on any device with a browser:
- Upload the photo (or a whole batch — JPG, PNG, WebP, and HEIC are supported). Files stay on your device throughout.
- Set the correct location. Zoom into the interactive map and click the exact spot, search for the address or place name, or paste precise coordinates copied from Google Maps.
- Download. The new latitude and longitude replace the old values in the EXIF block. Pixel data is untouched, so there is no recompression and no quality loss.
For a batch with the same wrong location — the airport album, the template-stamped product shots — upload all affected photos at once, set the correct position once, and download everything as a ZIP.
Step 3: Verify the Fix
Run the corrected file back through the GPS Finder and confirm the pin lands where it should. If the photo is destined for Google Photos or Apple Photos, re-import the corrected copy; both apps read EXIF GPS on import and will file the photo under the right place.
Getting Coordinates Exactly Right
A few habits make manual corrections as accurate as a native GPS fix:
- Zoom before you click. At street-level zoom, a single map click resolves to within a few meters. At country-level zoom, the same click can be off by kilometers.
- Copy coordinates from Google Maps for known spots. Right-click any point in Google Maps and the coordinates appear at the top of the context menu — click to copy, then paste them into the latitude/longitude fields.
- Use decimal degrees. The format
40.689247, -74.044502is unambiguous and what most tools expect. Southern latitudes and western longitudes are negative. - Mind the sign. Flipping a single minus sign moves a photo to the opposite hemisphere — the classic cause of photos "taken" in the ocean.
When Wrong Location Data Actually Matters
For personal albums, a wrong tag is an annoyance. In professional contexts it can be a real problem:
- Real estate: listing photos tagged at the wrong parcel undermine location verification. Our real estate geotagging guide covers the correct workflow.
- Business photos: images uploaded to a Google Business Profile ideally carry coordinates matching the business address — see our Google Business Profile guide.
- Insurance and documentation: claim photos with coordinates that contradict the claimed location invite disputes. Correct them before submission, and be aware that intentionally falsifying location data in legal contexts is fraud — fix errors, don't fabricate positions.
Conclusion
Wrong GPS data is common, explainable, and — because EXIF metadata is rewritable — always fixable. Check what the file really says with the GPS Finder, set the correct position in FreeGeoTagger with a map click or pasted coordinates, and verify the result. The whole round trip takes about a minute, costs nothing, and your photos never leave your device.
Frequently asked questions
How do I fix the wrong GPS location on a photo?
Open the photo in FreeGeoTagger, set the correct position on the map or by address, and download it. The new coordinates overwrite the existing EXIF GPS fields, leaving the image itself unchanged.
Why is my photo's location wrong in the first place?
Common causes are a poor satellite fix indoors or between tall buildings, the phone reusing a cached position from a previous location, an incorrect device clock misaligning a GPS track, or an editing app rewriting metadata.
Why does Google Photos still show the old location after I fixed it?
Because it caches the place it previously derived from the file. Re-upload or re-import the corrected photo so the library re-reads the EXIF data, and remove the stale copy.
Can I change a photo's location without losing quality?
Yes. Editing GPS fields rewrites only the metadata segment. The compressed pixel data is copied through byte-for-byte, so there is no re-encoding and no visible change.