How to Geotag Photos for Google Business Profile
Google Business Profile (GBP) is the single most important listing for any local business — it controls what appears in Google Maps, local pack results, and the knowledge panel that shows up when someone searches for your business by name. Most business owners optimize their GBP with accurate categories, business hours, and review responses. Far fewer optimize the one thing that directly communicates location to Google at the file level: GPS metadata embedded in their uploaded photos.
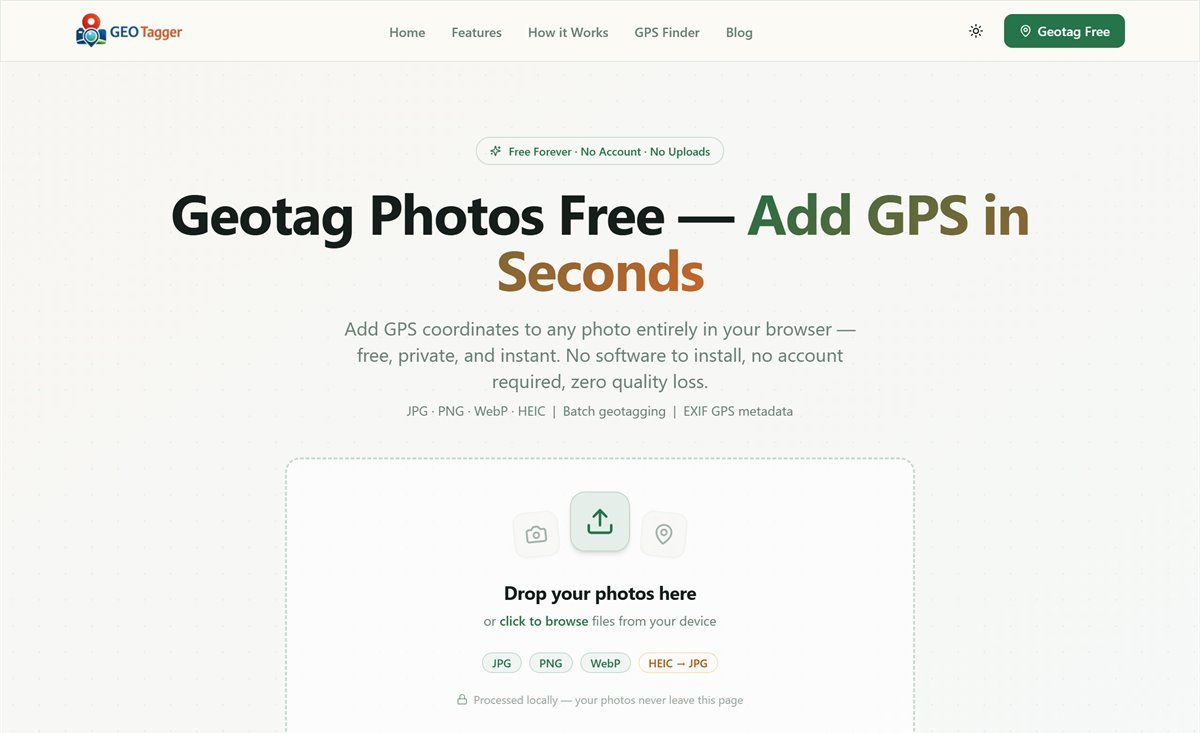
When you upload a photo to Google Business Profile, Google reads every piece of data attached to that file — including any EXIF GPS coordinates stored inside the image. A photo geotagged to your exact business address sends a machine-readable location signal that corroborates your listed address and reinforces your geographic relevance. Use FreeGeoTagger to embed that data before you upload, and you give Google one more reason to rank your business higher for local searches.
Why Google Business Profile Cares About Photo GPS Metadata
Google's local ranking algorithm uses hundreds of signals to determine which businesses appear in local pack results and Maps. Among those signals, location consistency is critical — the more sources that confirm your business is at a specific address, the more confident Google becomes in surfacing your listing for relevant searches.
EXIF GPS metadata is one of those sources. When a photo uploaded to your GBP listing contains GPS coordinates matching your business's latitude and longitude, it adds a direct data point that your business genuinely operates at that location. This matters particularly for:
- Businesses in competitive local markets — where every marginal signal helps separate your listing from similar competitors.
- Service-area businesses — which often struggle with location signals because they don't have a storefront address pinned to Maps.
- New listings — that haven't yet accumulated reviews, citations, or backlinks to build geographic authority.
- Multi-location businesses — where each location's photos should be geotagged to that specific location's coordinates, not the headquarters.
How GPS Metadata in Photos Strengthens Local SEO
Google's local ranking considers three primary factors: relevance, distance, and prominence. GPS metadata in your photos contributes most directly to the distance signal — it provides a precise, machine-readable coordinate that confirms your physical position.
Beyond ranking, geotagged photos have a secondary benefit: when submitted through Google Maps as user-contributed photos (via the Google Maps app), they appear in the location's photo gallery and contribute to that pin's data quality score. High-quality, geotagged photos from business owners are weighted more heavily than untagged uploads from strangers.
A 2023 analysis of local ranking factors by Whitespark and BrightLocal consistently identified photo quality and quantity as significant GBP signals. Adding GPS metadata converts a standard photo upload into a structured location data point — without changing anything visible to customers.
Step-by-Step: How to Geotag Business Photos Before Uploading to GBP
The entire process takes under two minutes using FreeGeoTagger — a free, browser-based tool that embeds GPS coordinates directly into your photo's EXIF metadata without uploading your images to any server.
Step 1: Find your business's exact GPS coordinates
Open Google Maps and navigate to your business address. Right-click on the exact front-door location and copy the coordinates. They'll look something like 40.7128, -74.0060. For accuracy, use the point where a customer standing outside would pin your entrance — not the center of the building.
Step 2: Upload your business photos to FreeGeoTagger
Go to FreeGeoTagger and drag your business photos into the upload zone. You can process multiple photos at once — the tool supports JPG, PNG, WebP, and HEIC. All files stay on your device; nothing is sent to any server.
Step 3: Set the GPS location
Click on the interactive map to pin your business, search for your address in the search bar, or paste the latitude and longitude you copied from Google Maps directly into the coordinate fields. The pin will snap to your exact business location.
Step 4: Download and upload to Google Business Profile
Click Download to get your geotagged photos. Then log into your Google Business Profile, navigate to Photos, and upload the geotagged files. Google will read the embedded GPS data when it processes the images.
Which Business Photos Should You Geotag?
Not all photo types benefit equally from geotagging. Prioritize these for maximum local SEO impact:
- Exterior shots — photos of your storefront, signage, entrance, and parking area. These are the most geographically meaningful photos for Google.
- Interior shots — lobby, dining room, workspace, retail floor. Tagging these to your exact address confirms the business is active at that location.
- Team and staff photos — taken at your business location. Use your address coordinates, not the photographer's location.
- Product or service photos — if taken on-site. Photos taken elsewhere (like a stock-photo studio) can be tagged to your business address since the subject relates to your location.
You can verify GPS data is correctly embedded in any photo using our GPS Finder tool — upload the file and confirm the coordinates match your business address before uploading to GBP.
Tips for Maximum Local SEO Impact from Geotagged Photos
- Use your precise entrance coordinates, not the center of your building or parking lot. Google Maps pins are most accurate at street level.
- Geotag consistently across all photos. Uploading some photos with GPS and some without sends mixed signals. Aim to geotag every photo you add to your GBP listing.
- Upload photos regularly. GBP listings with recent photo activity are treated as more active and relevant. A weekly cadence of 2–3 new geotagged photos sustains freshness signals.
- Match your GPS coordinates to your verified address. Coordinates that don't match your listed address can confuse Google's location algorithms. Always use the same coordinates you'd use to pin your Google Maps entry.
- Encourage customers to add geotagged photos. Customer-uploaded photos with GPS data matching your address further corroborate your location. Share your Maps link with review request emails to make it easy.
Common Mistakes to Avoid
- Using the wrong coordinates. A common error is copy-pasting coordinates from the wrong Google Maps pin — check that the coordinates correspond to your specific unit or entrance, not the building or mall center.
- Uploading photos edited with software that strips EXIF. Some editing tools (older versions of Photoshop, certain online editors) remove all EXIF data when exporting. Always run photos through FreeGeoTagger as the final step before uploading to GBP.
- Using different coordinates for different locations. For multi-location businesses, each branch needs its own set of geotagged photos with that branch's coordinates — not the headquarters address.
Verifying Your GPS Data Before You Upload
Before uploading to GBP, confirm that GPS data is correctly embedded using our GPS Finder. Upload the finished photo, and the tool will extract and display the embedded coordinates on a map. If the pin lands on your business address, the photo is ready. If the location is off, re-geotag using FreeGeoTagger and download again.
Conclusion
Geotagging your Google Business Profile photos is one of the lowest-effort, highest-leverage local SEO optimizations available. It takes under two minutes per batch, it's completely free, and it adds a precise location signal that most competitors haven't thought to include.
Start with your exterior shots, geotag them to your exact entrance coordinates using FreeGeoTagger, verify with the GPS Finder, and upload to GBP. Repeat with every new photo you add — and let the location signal compound over time.
Frequently asked questions
Does geotagging photos help Google Business Profile rankings?
Not directly. Google has indicated that photo EXIF data is not a local ranking factor, and uploads are typically re-encoded. Geotag for accurate records and consistency, not as a ranking shortcut.
Should I still geotag business photos?
Yes, for your own library. Coordinate-tagged masters let you prove where a photo was taken, organise images by location across multiple sites, and keep consistent metadata wherever you publish them.
Does Google keep the EXIF data I upload?
Usually not. Platforms commonly strip or rewrite metadata when they process and resize uploads, so do not assume your coordinates survive. Keep your geotagged originals.
Is it risky to fake photo locations?
Yes. Misrepresenting where your business operates conflicts with Google's guidelines and can affect your profile. Only tag photos with locations where you genuinely took them.